


Welcome to another bonus, between letters edition!
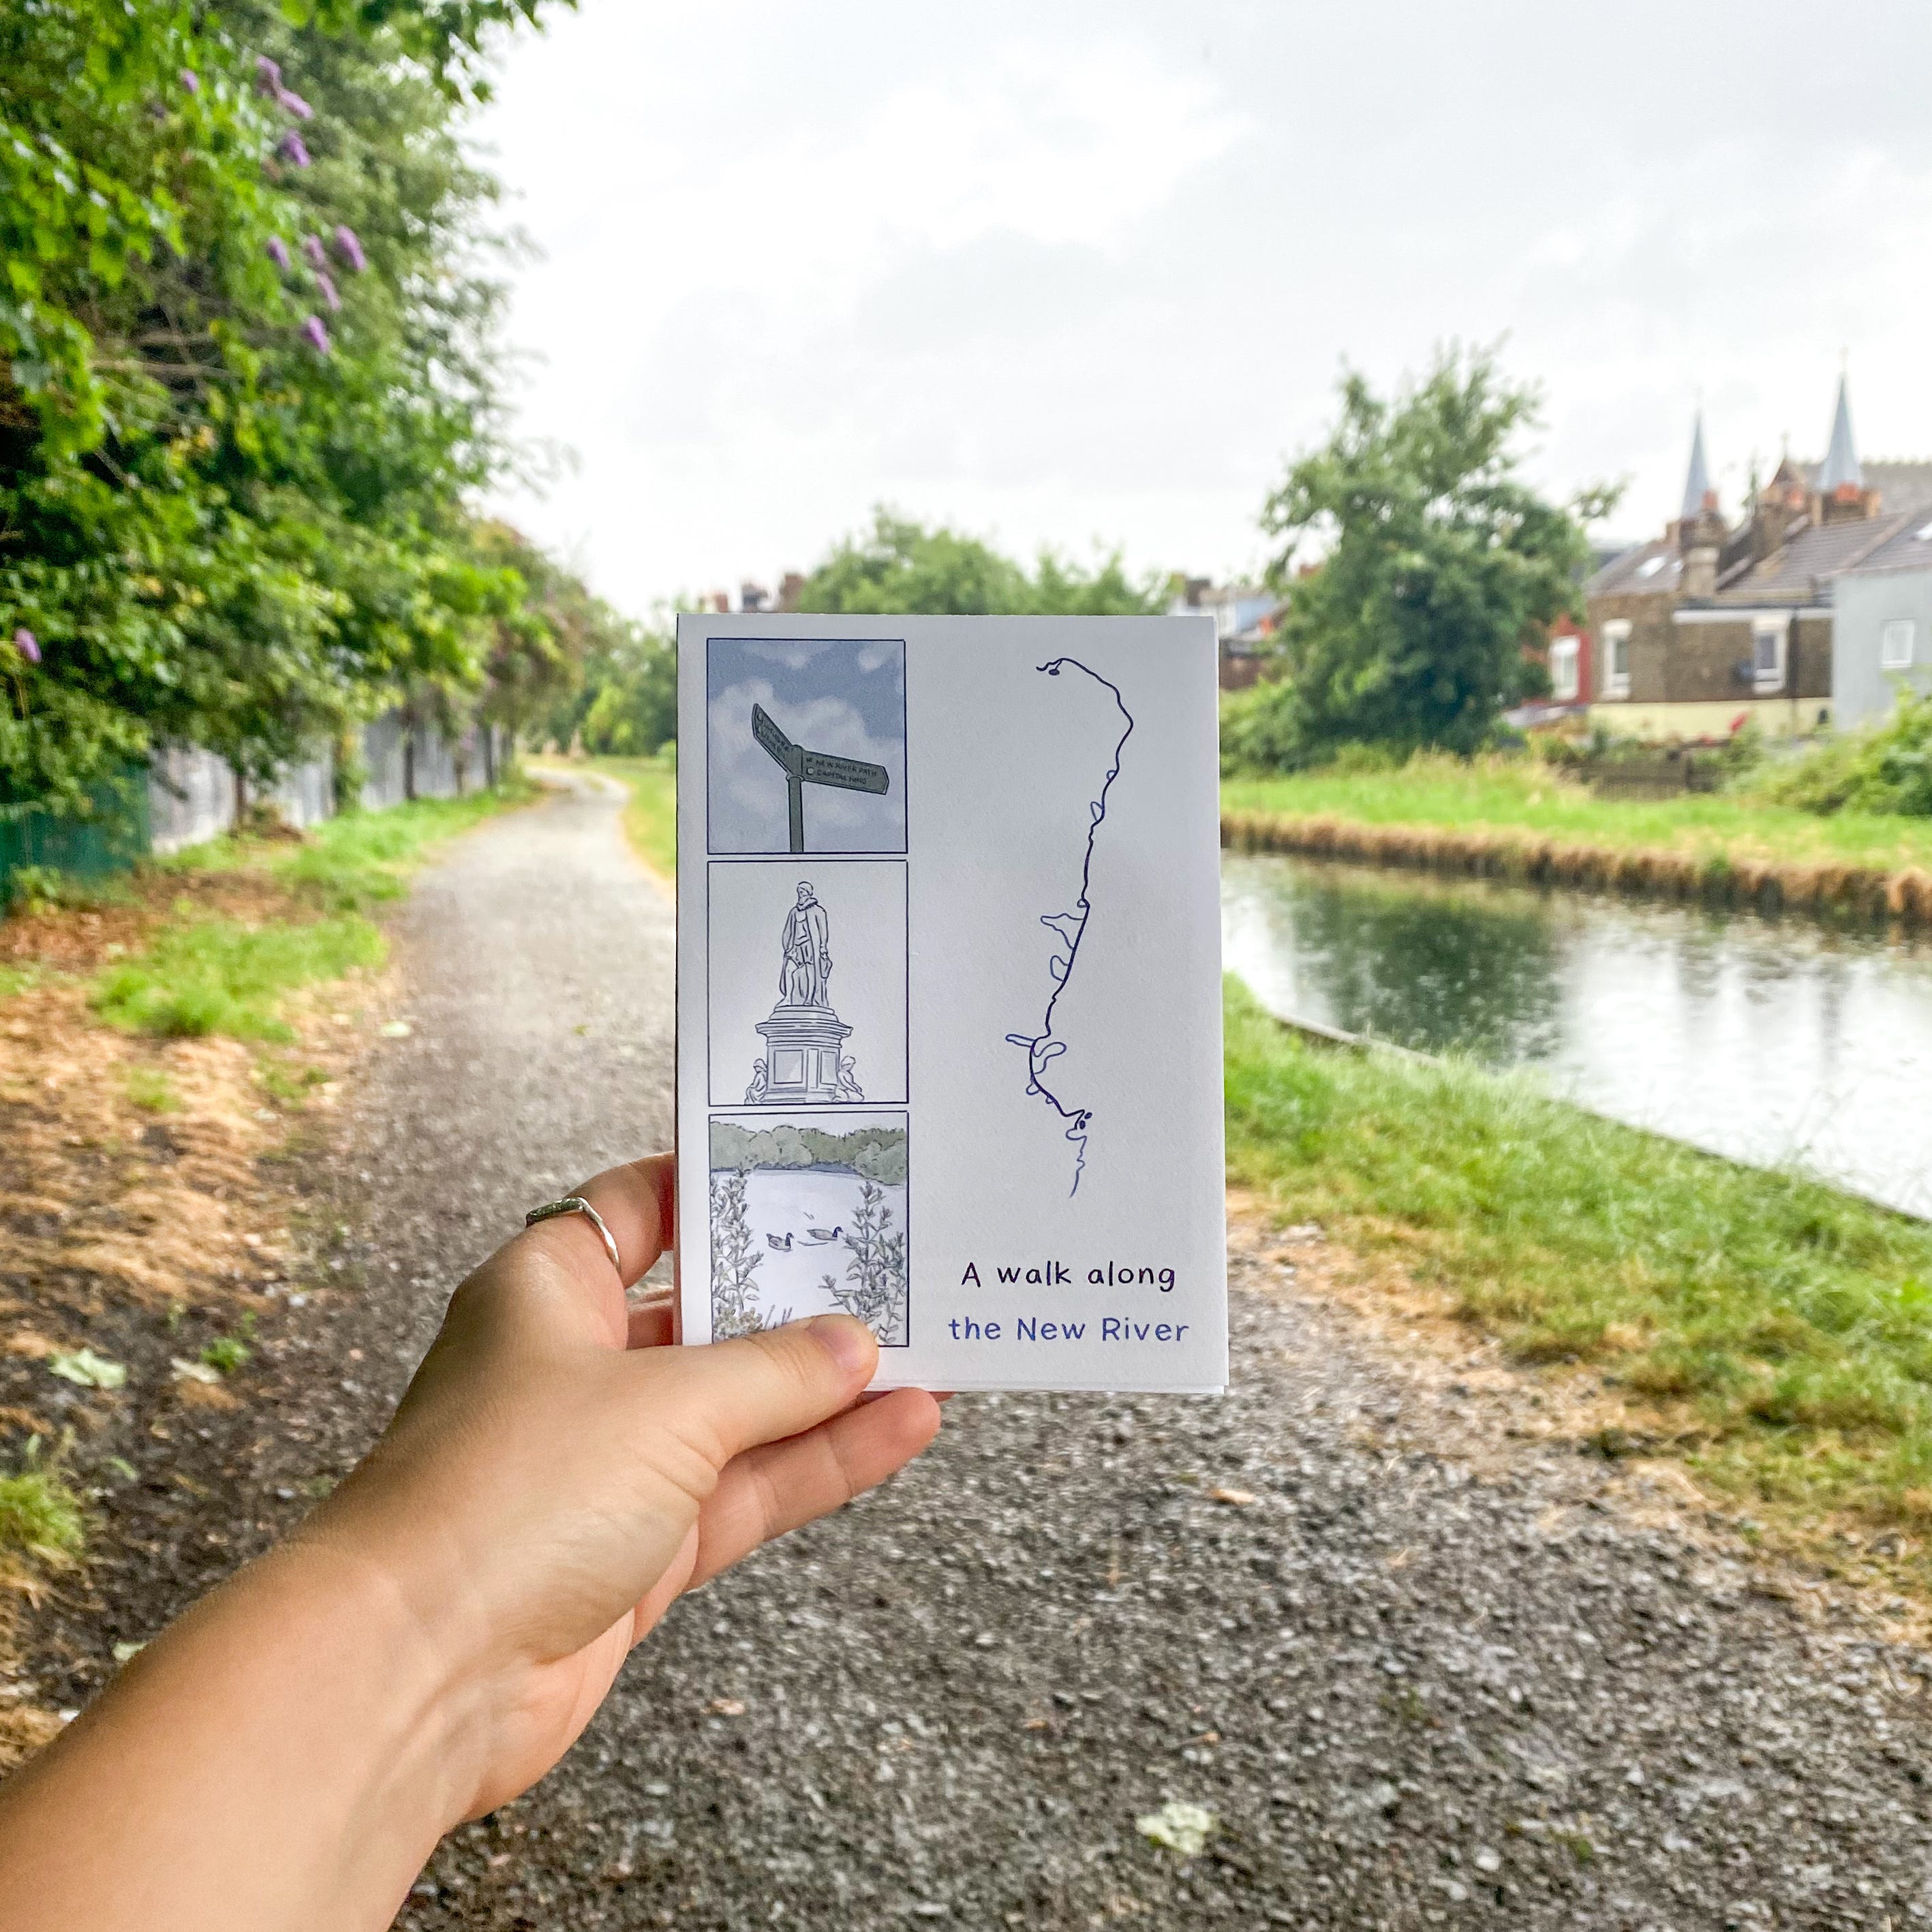
As you know, I, some what counterintuitively, make a physical zine version of my monthly newsletter. After years of blogging and then burning out, I knew that if I started to make things and share them online again I would need a way to make it fun and tangible. There’s something terrifying about spending hours, days, weeks of time on something that exists so ephemerally. So, I make a little monthly zine that I can have and hold.
I was worried that it could quickly get out of hand - I’m not great at not going over the top when I make things.
So, I set myself a two rules for those physical copies:
Each zine must be printable on a single sheet of A3 paper (limits scale and cost)
I can make a limited print run of each, so I can print on nice paper, but I have to sell the rest, with all profits going to charity (so my work has a tiny positive impact)
I’m so pleased that people have enjoyed the physical expressions of my visual stories, not just because it means I’m not drowning in zines! We’ve even sold out of some of the first editions.
I’ve loved making them. They’ve brought a new dimension of fun to drawing for me.
Thinking about what the shape the accompanying zine might take, is part of the planning process for me right from the start. The physical format can really change the constraints of how you tell a story e.g. turning the Rajah quilt story into a Victorian puzzle purse meant I was working in squares and triangles rather than rectangles.
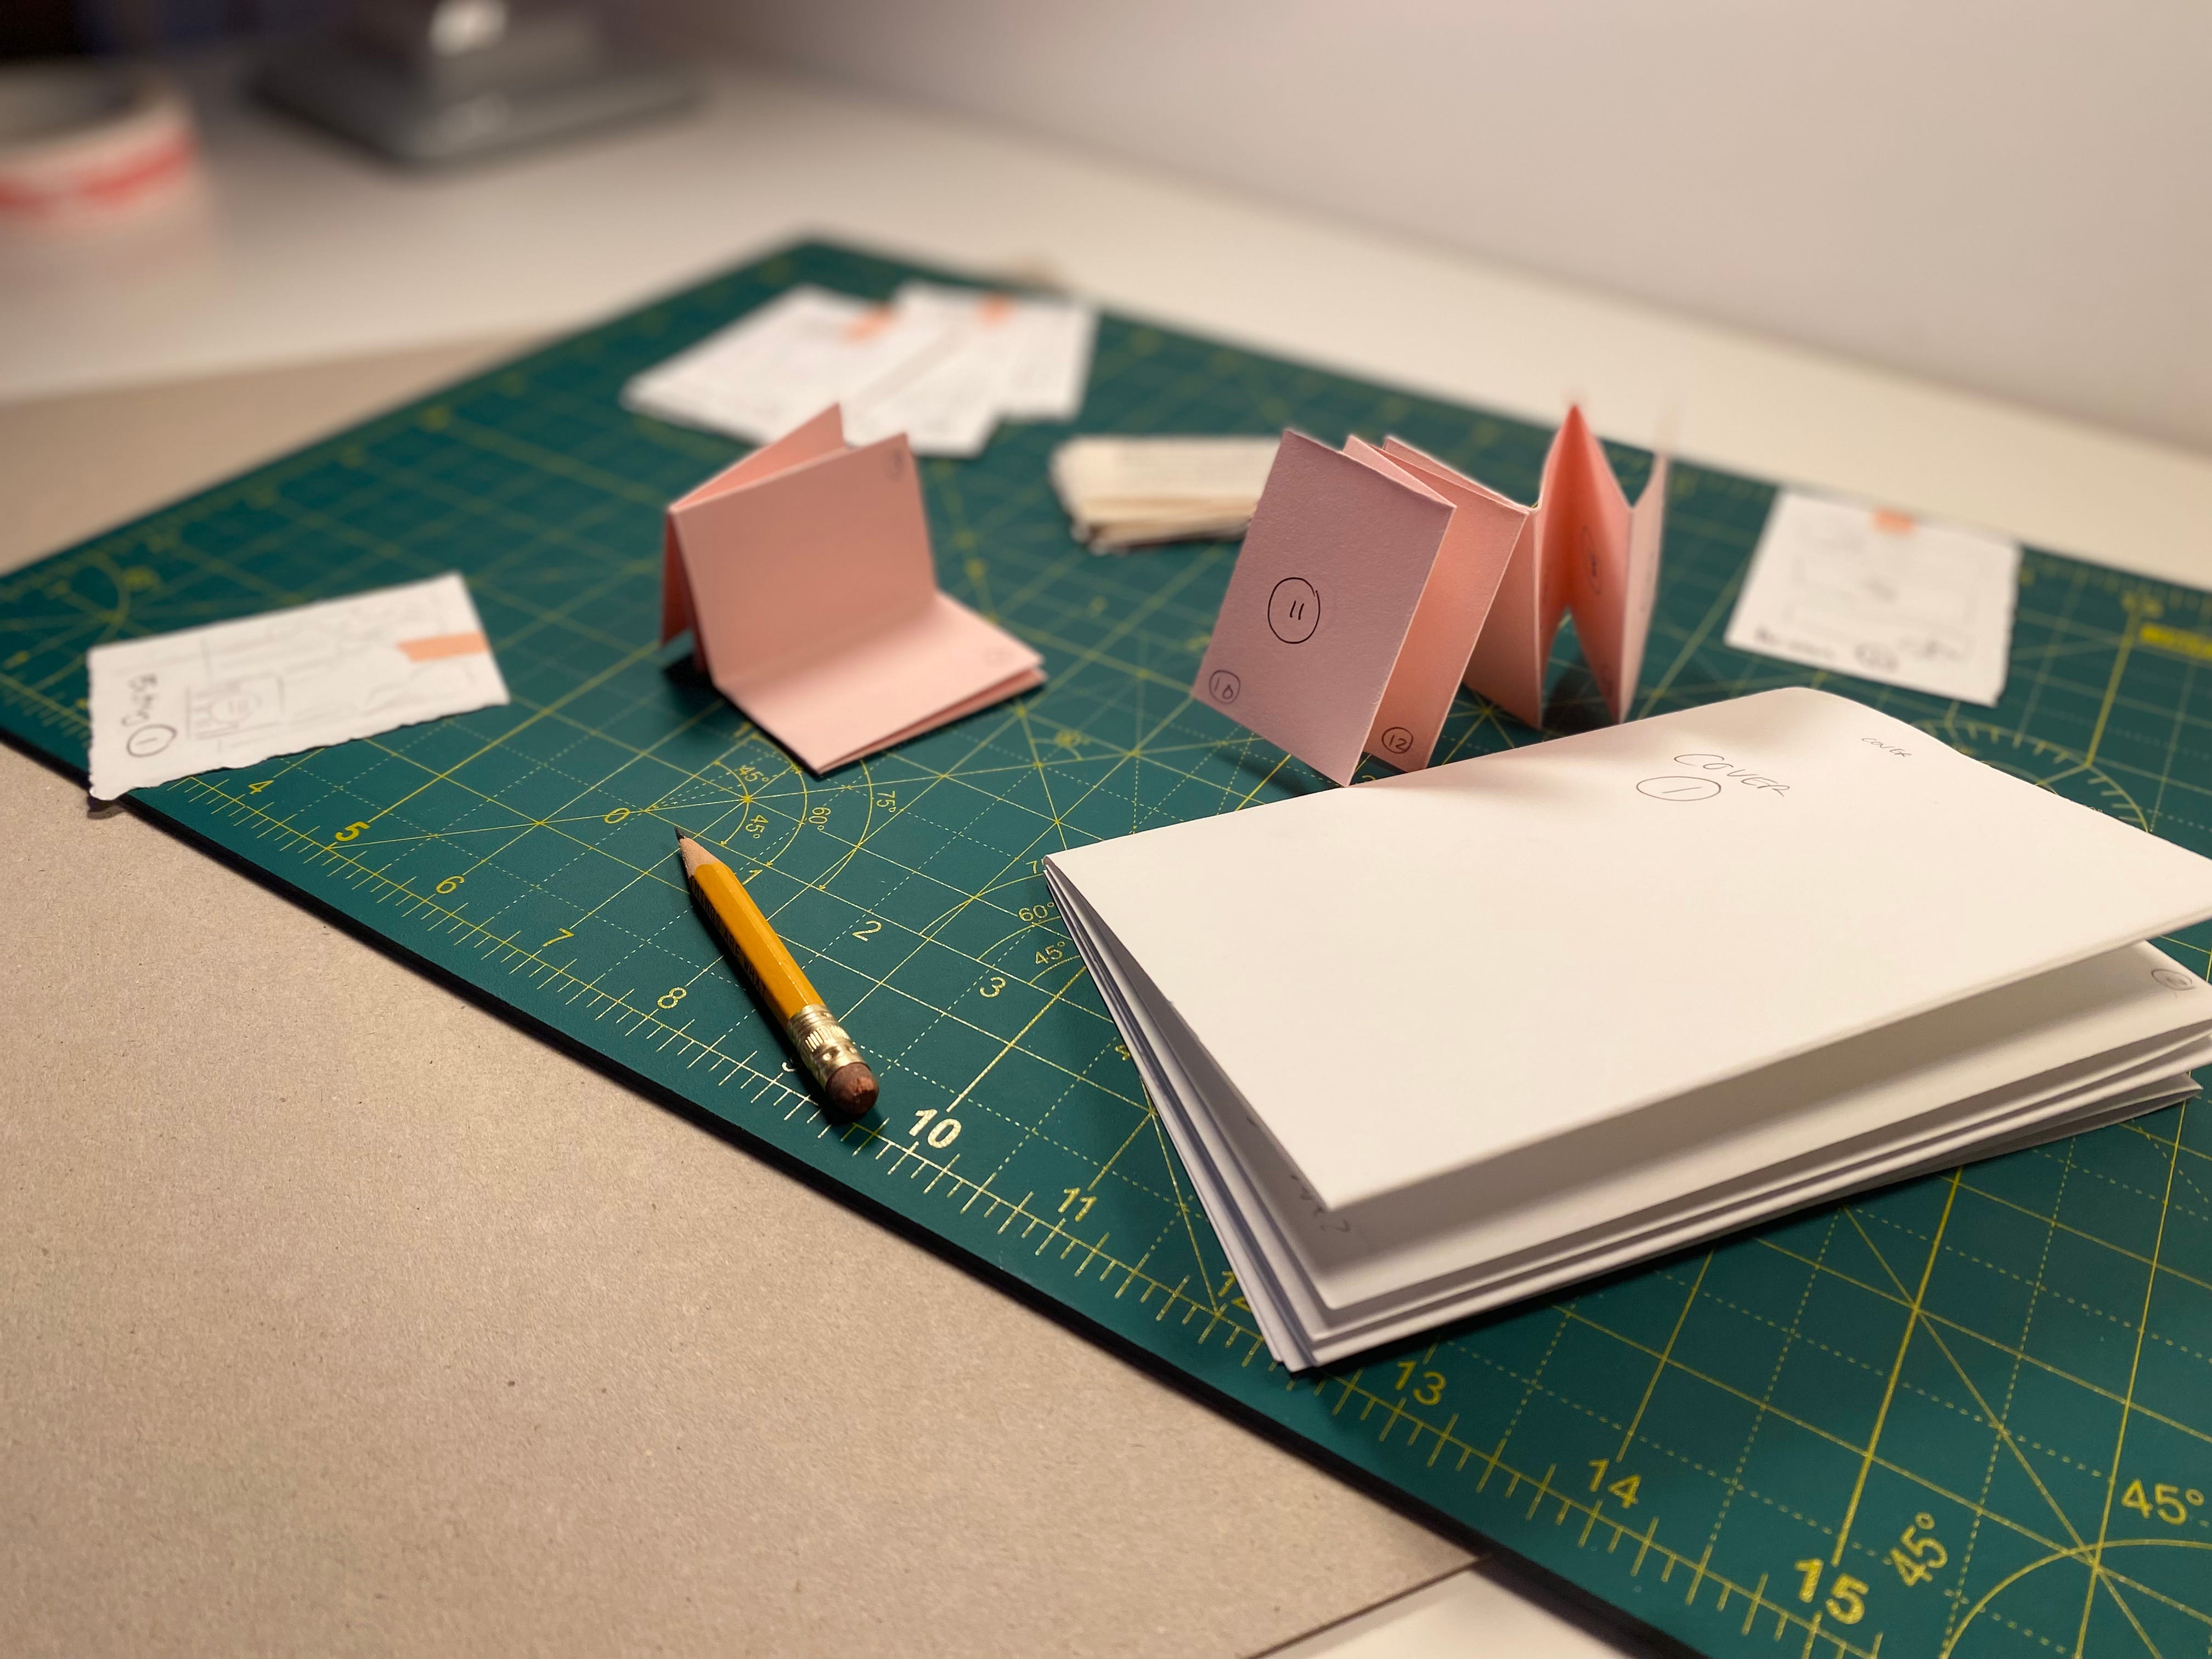
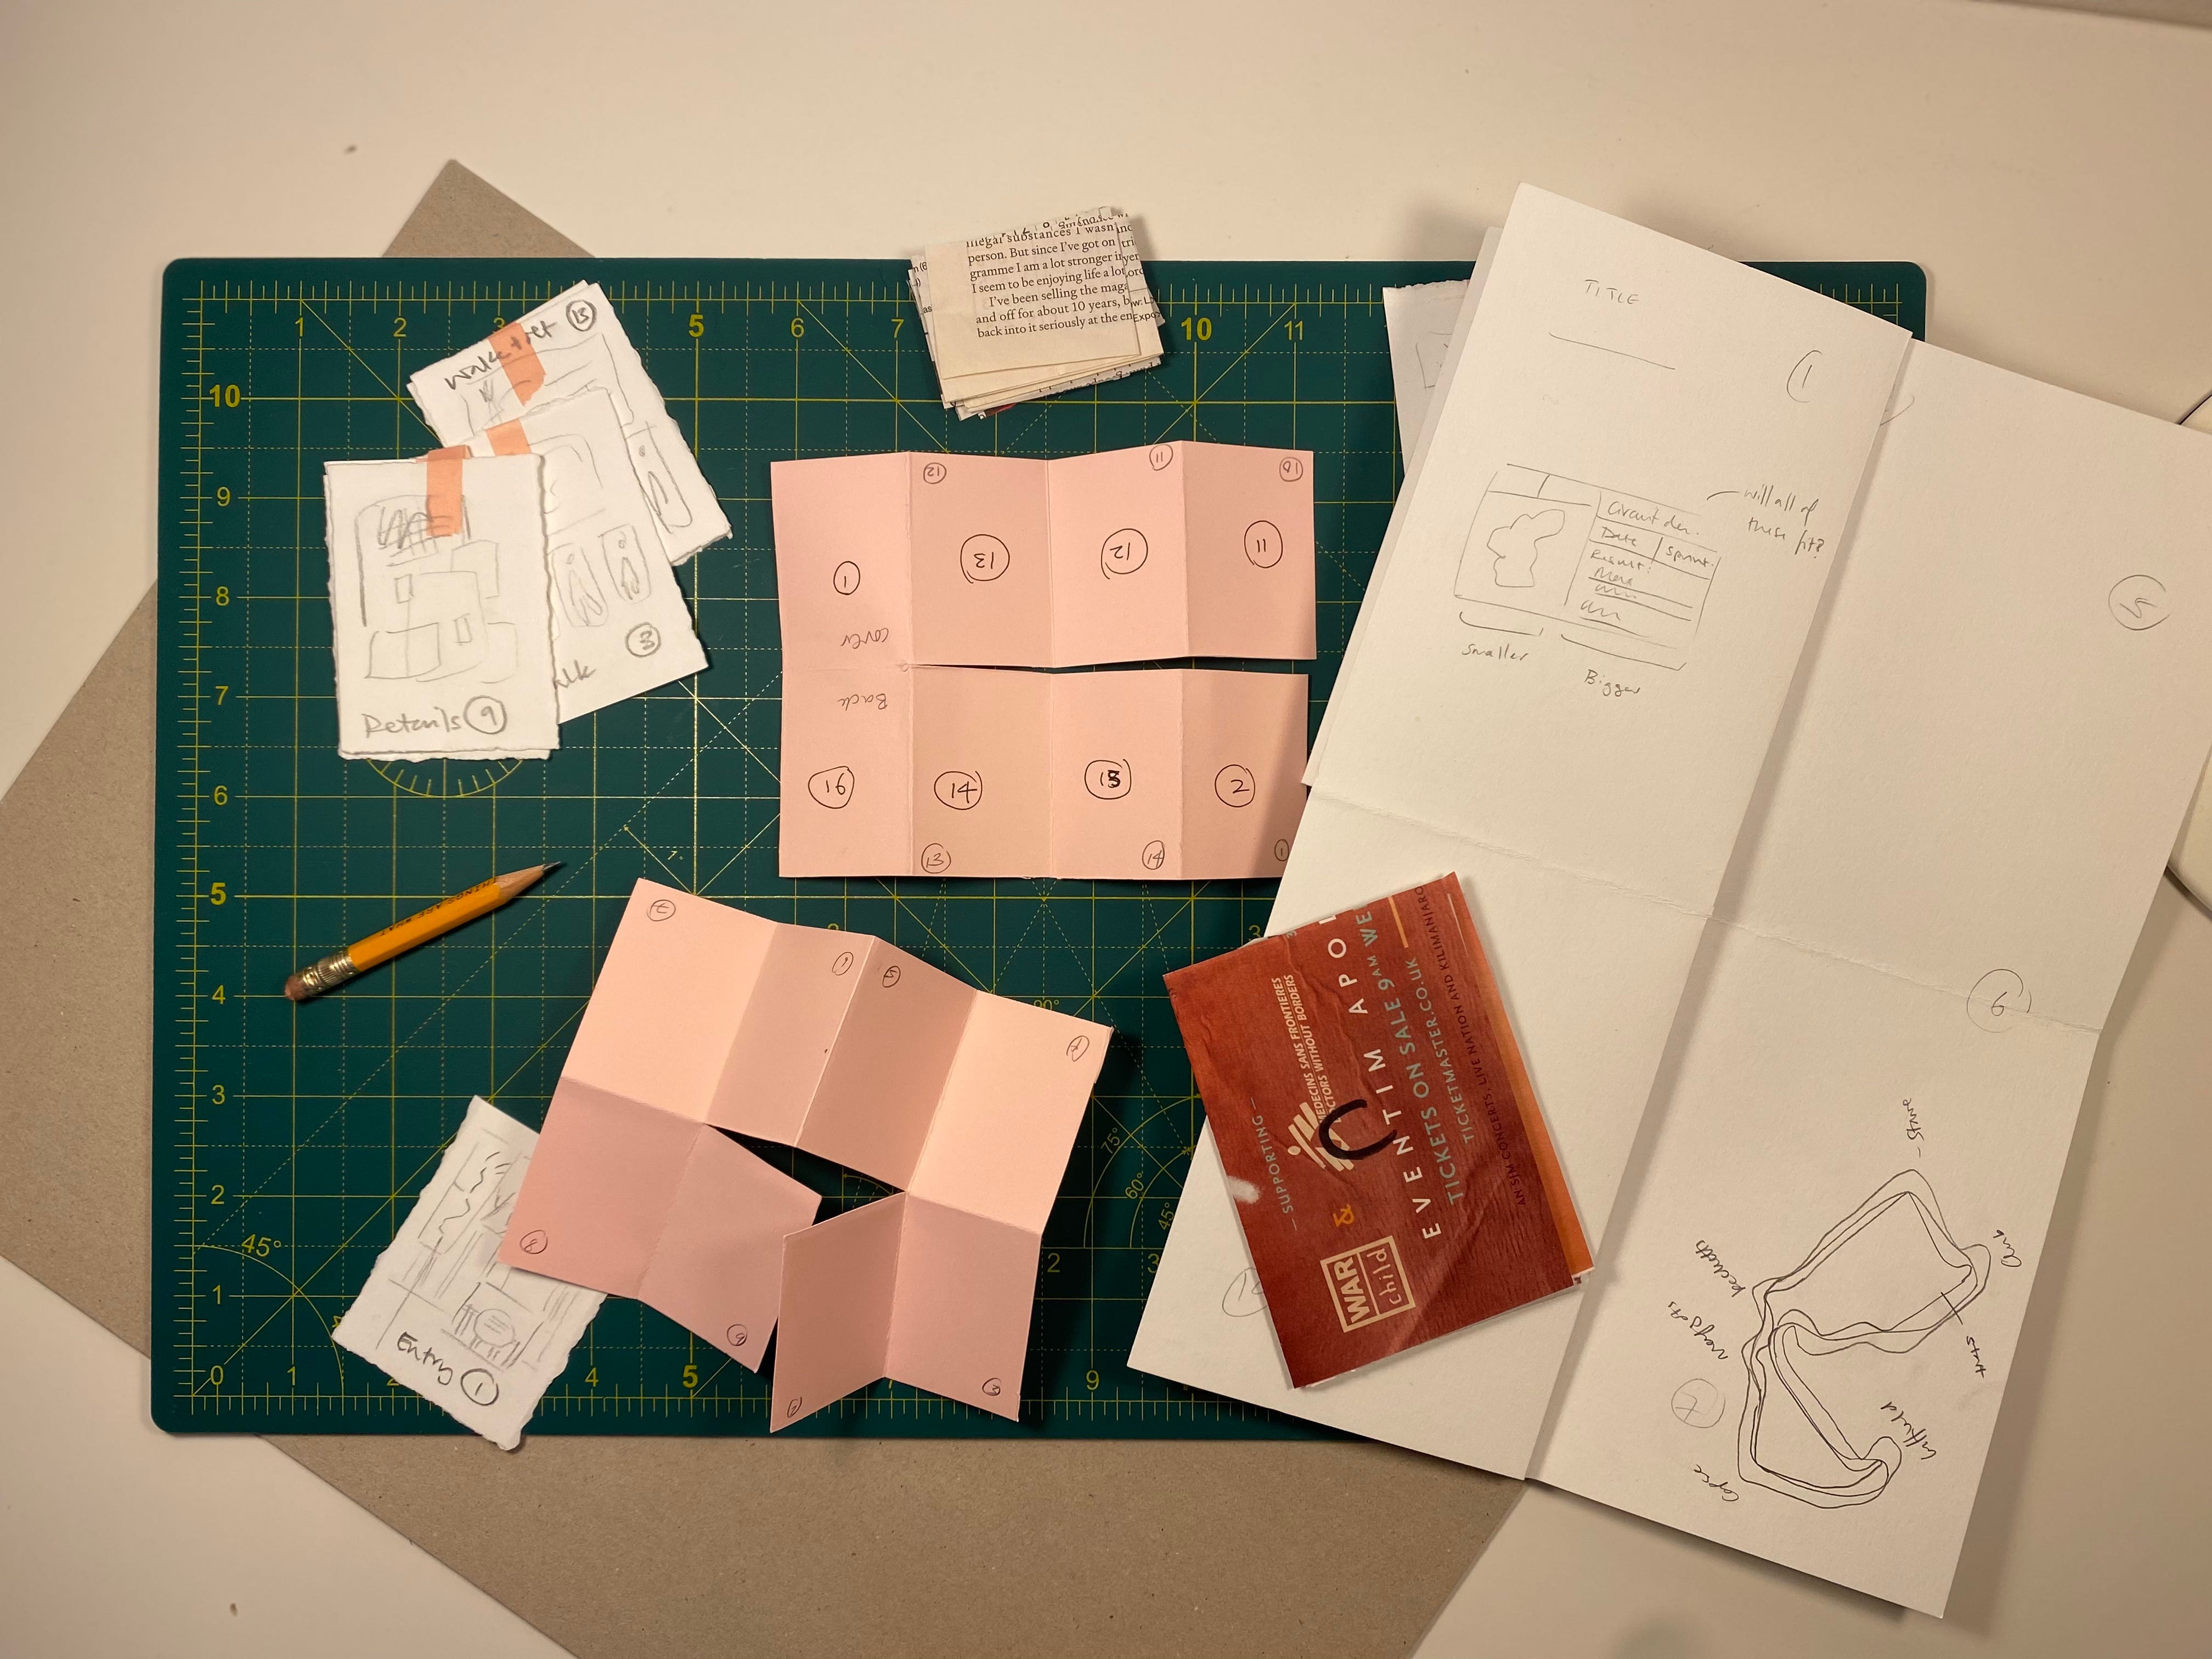
Every zine starts with me making a tiny mock up out of scrap paper. I have to physically see it to be able to understand how it will work, my imagination doesn’t extend to folding 3D objects.
Then I get planning content and mapping the story itself - this process probably needs a behind the scenes of its own. Often I end up attaching thumbnails or scraps of content to a slightly bigger mock up, so I can better see how the two work together.
I work on the images and text digitally.

That’s until it’s time to layout the zine for printing. Because I’m limited to that single page of A3 there’s almost always some folding and cutting going to be involved in making the zine. So I have to check, double check and triple check that I’ve laid out all of the pages in the right way to print the zine. This is where those tiny mock ups come back into play as I fold and unfold them. The key is page numbers!
Once I’m happy, and usually once I’ve slept on it, I go to order. I’ve been using printed.com for my printing since the days I was making greeting cards.
I hold my breath as I wait for the courier’s van to arrive with the flat sheets. Opening the box is the moment of truth, and too often the moment I spot a typo (sorry!).
I make one zine in full first, cutting using a scalpel and folding, and sometimes stapling, just to make sure it works. Then I work in activity clusters, folding everything, then cutting, then stapling if required.
Last but not least it’s my favourite part - stamping! I invested in a custom rubber stamp when I decided to make these zines so that I could label and number editions. I’m so glad I did. I think it brings a reminder that even though I draw digitally, and my prints are done on a commercial inkjet printer, it’s a real person behind each one. Plus stamping is just fun!

That’s how the zine sausage is made.
There’s an incredible amount you can do with a single sheet of A3 paper, I’m up to 5 different constructions and counting. Wuthipol Designs has put together some great dummy kits if you need inspiration. I can’t recommend making physical copies of work if you’re a primarily digital creator, or even if you’re not. Zines are fun.
As always, let me know if there’s anything about making a visual story or zine that you’d like me to break down in one of these behind the scenes editions - or let me know if you hate them!
Write/draw again soon,
Natalie
This is fantastic! The puzzle quilt zine looks particularly amazing: I’ve never heard of a puzzle quilt (and I’ve been variously obsessed with Victoriana for many years). I’m also one who needs physical dummies for any kind of book that requires folding; it’s such a great way to visualize and plan.
Thanks for the behind the scenes visit and GIFs! Very inspiring 👏👏 👏
I have always wondered how to do this, thank you so much for this great post!